


Frontend development is evolving and over the years new frameworks have emerged. Amongst them are Vue, React, and Angular. These frameworks can be used to build simple to robust applications depending on the client's or company's interests. However, it is important to know that as a beginner in software development, understanding HTML, CSS, and vanilla Javascript is paramount before moving to a Javascript frontend framework.
VueJs is a front-end framework, and it has a framework called NuxtJs. It's just like having a framework in a framework. Don't get confused, NuxtJs is an intuitive Vue framework, a lot of things in VueJs are simplified in NuxtJs (for example routing) making your work easier and faster. In this lesson, I would explain how to create a project in NuxtJs. To create a NuxtJs project, follow these steps:
Make sure you have NodeJs installed on your PC. Visit this link NodeJs, download the latest version, and install it appropriately.
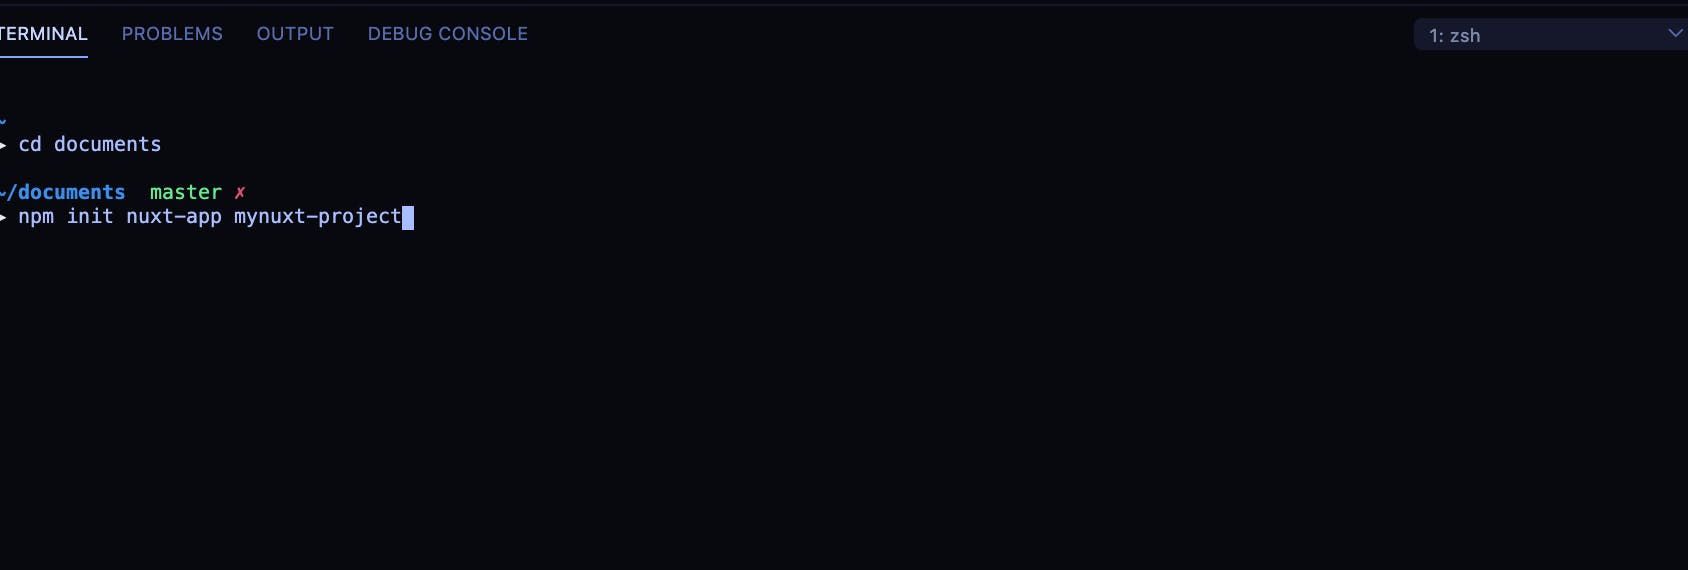
Create a project by writing this code on your terminal
npm init nuxt-app <project-name>
Use your most preferred name as seen in the image below. It is advisable to use a name similar to the application/project you are building.
- Then press enter. You would be asked some questions, kindly see the images below for a guide
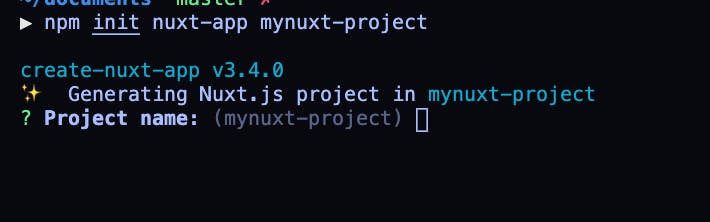
- Press enter to confirm your project name
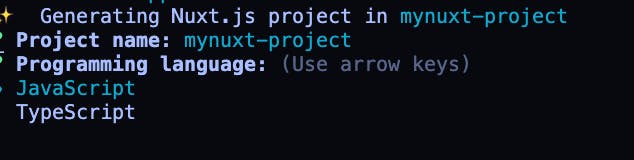
- Choose your programming language, this could be JavaScript or TypeScript, I will be choosing JavaScript as mine because that is what I want to use.
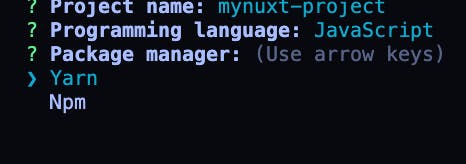
Select your package manager, you can either use yarn or npm. I will be using npm
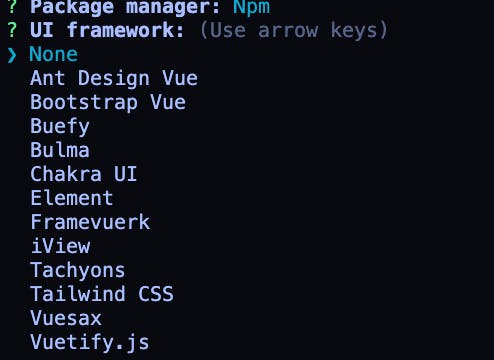
Press enter to choose your most preferred UI Framework, I will use none for this lesson.
Press enter to select your modules. Click for more information on NuxtJs Modules, I will select PWA for this lesson

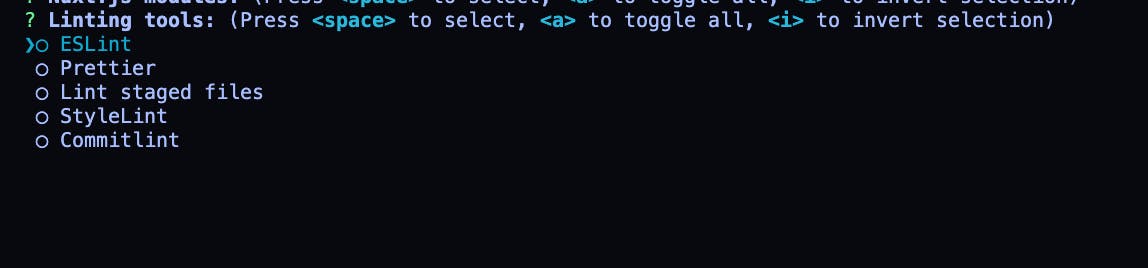
Press enter to select your linting tools, Linting is the automated checking of your source code for programmatic and stylistic errors. I will be using Eslint for this lesson
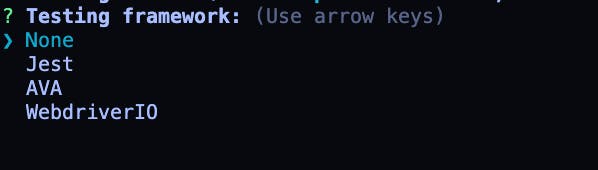
Press enter to select your preferred testing framework. I will be using none for this lesson.
Press enter to select your rendering mode, with NuxtJs you can build Server-side rendering applications and single-page applications. For this lesson, I will be using a SPA

Select your deployment target, I will be selecting server (Node.js hosting) for this lesson

Select the development tools, I will be using the jsconfig.json

Confirm your GitHub username

Press enter to select the version control system(Git)

Yay! We did it, now all we need to do is follow the direction in the image below i.e changing the project directory.
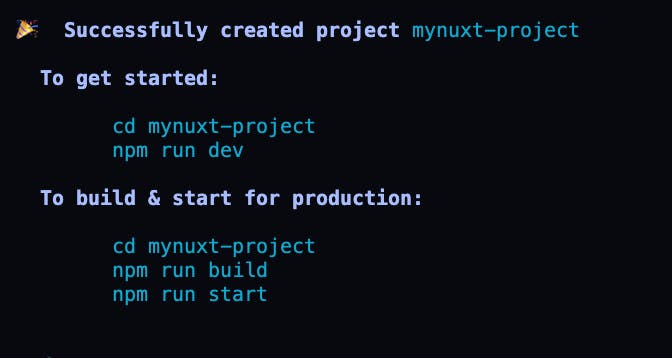
To change the directory
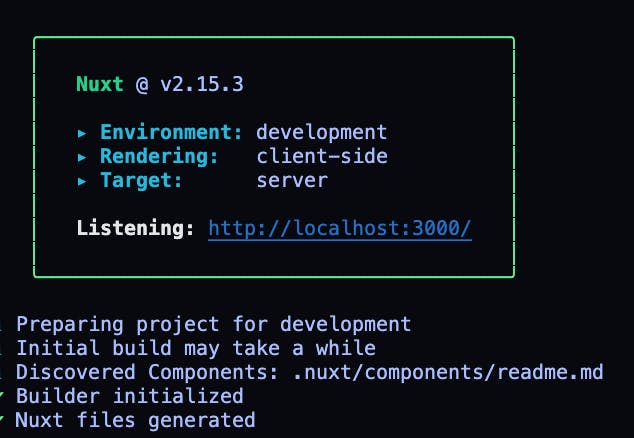
cd mynuxt-projectFinally, npm run dev to view your project on the browser
npm run devClick on the localhost link as seen in the image below
- This would take you to your browser. Voila! You have successfully created a NuxtJs Project!

This is how to create projects in NuxtJs, for more information on NuxtJs visit the website and read the Documentation.
Kindly follow me for more articles on NuxtJs and frontend development-related topics.